

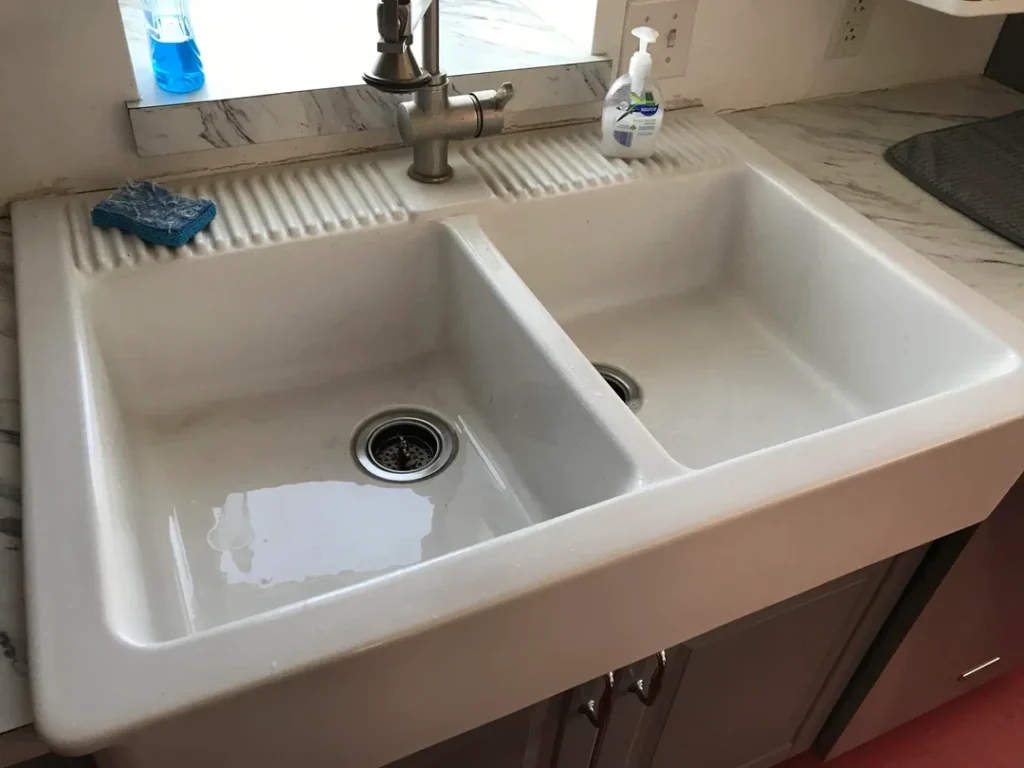
Have you ever looked at a kitchen or a laundry room and thought, Sinks come in all shapes and sizes, but one of the coolest and most famous designs is the heavy ceramic apron-front sink? A classic example of this is the beloved, classic IKEA DOMSJÖ sink. It is a big, beautiful white ceramic sink that sits right at the front of your cabinet, looking like a friendly giant waiting to help you wash dishes or clean up after a messy art project.
But here is the trick: because this sink is made of heavy clay and ceramic, installing it isn’t quite as simple as dropping a lightweight plastic bowl into a hole. You have to think about how thick your countertop needs to be so that everything fits together like perfect Lego pieces. If your countertop is too thin, the heavy sink won’t sit right, and it might even damage your beautiful wooden or stone surfaces! Let’s dive into how to hack this setup and get your sink sitting perfectly.
Hackers Help: Countertop thickness for DOMSJÖ sink
When you decide to install a DOMSJÖ sink, you are choosing a “drop-in” style farmhouse sink. Unlike most undermount sinks that are completely hidden beneath the countertop, the DOMSJÖ features smart ceramic flanges or lips along the left and right sides. These lips are designed to sit directly on top of your cut countertop edges. This means your countertop cuts can be simple, straight lines, which makes cutting way easier!

The Big Problem
The main problem DIY builders run into is countertop thickness. If your countertop is too thin, such as less than $1 \text{ inch}$ ($2.5 \text{ cm}$), the sink’s deep basin will hang down too low inside the cabinet, potentially hitting the doors or internal shelves.
Even worse, thin wood countertops can warp or split under the massive weight of a solid ceramic sink filled to the brim with water.
The Smart Solution
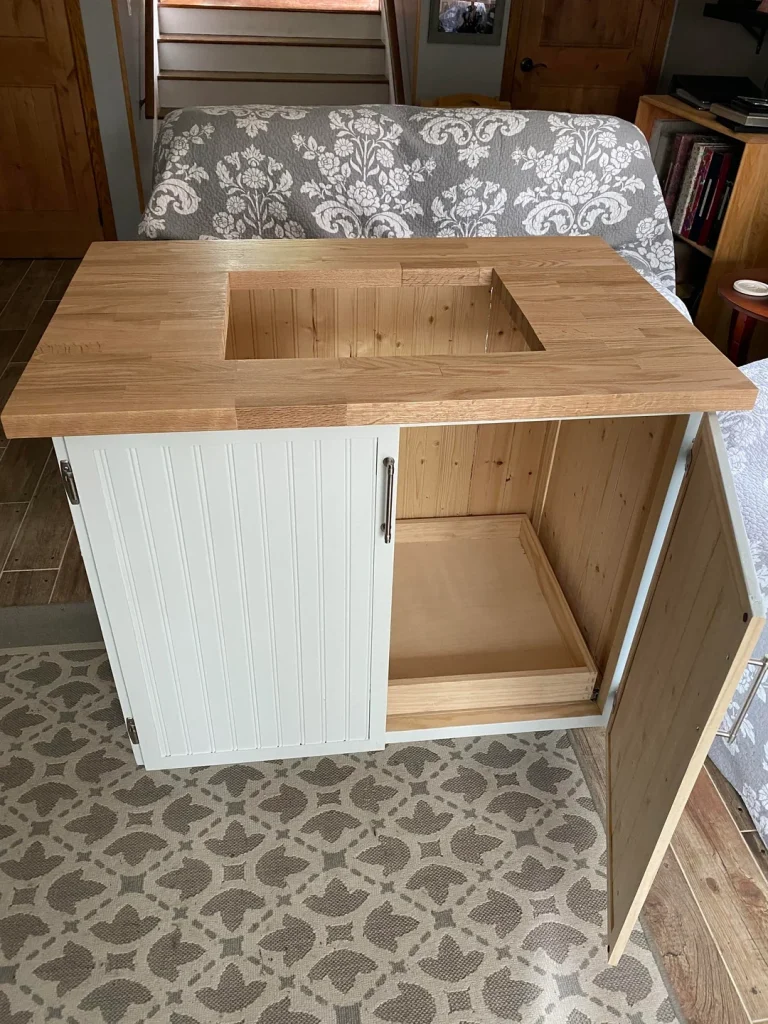
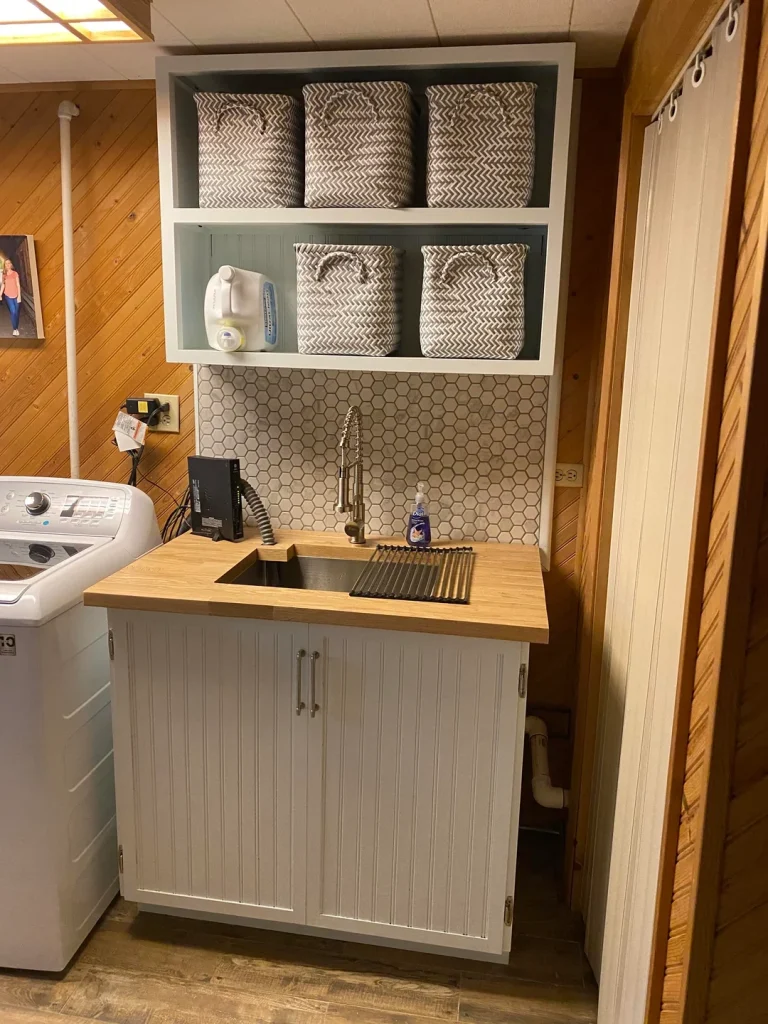
- To keep everything safe and sturdy, IKEA recommends using a countertop with a minimum thickness of 38 mm (about 1 1/2 inches). Standard butcher block countertops like the popular ones shown in DIY laundry rooms usually come in thicknesses of $1\ 1/8\text{inch}$ ($2.8\text{ cm}$) or $1\ 1/2\text{ inches}$ ($3.8\text{ cm}$).
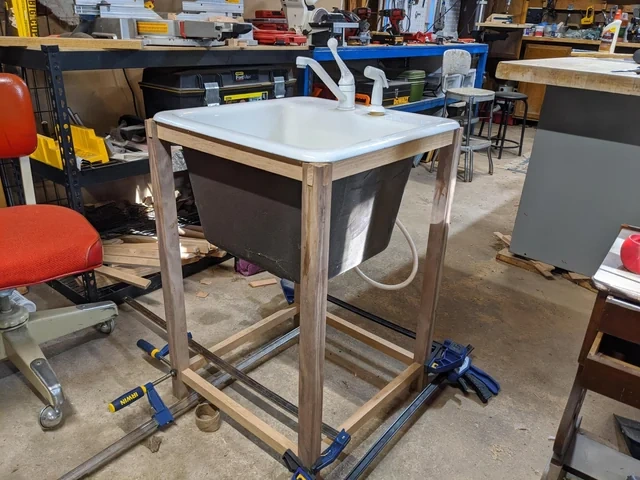
- If you choose a $1\ 1/2\text{ inch}$ thick wooden countertop, you are in the sweet spot! This thickness provides enough vertical space for the side flanges to rest comfortably, offers plenty of strength to hold the heavy ceramic, and matches up beautifully with the sink’s built-in dimensions.
Expert Advice for the Perfect Fit
If your heart is set on a thinner countertop (like a $2\text{ cm}$ stone slab), don’t panic! You can still hack your way to success. You will simply need to build a hidden wooden support frame inside your cabinet base using sturdy wood blocks. This frame acts like strong table legs under the sink, taking the heavy weight off the thin countertop so it doesn’t crack under pressure.
Think About How Much Money You Would Save if Someone Else Did This Work
Calling a professional contractor to remodel a cabinet, cut a butcher block countertop, reinforce the inner cabinet frame, and mount a heavy ceramic sink can cost a pretty penny. Typically, a professional carpenter or plumber might charge anywhere from $300 to $800 just to install a custom farmhouse sink setup!
By taking on this project yourself, you get to keep all that hard-earned money in your pocket. You can use those savings to buy high-quality tools that you get to keep forever or even upgrade to a fancier faucet. Plus, nothing beats the proud feeling of looking at a beautiful, functional sink and knowing, “I built that with my own hands!”
Required materials: Countertop thickness for DOMSJÖ sink
To complete this installation successfully, make sure you have the following tools and supplies ready before you start:
The DOMSJÖ Ceramic Sink with its matching drain and water-trap kit.
The DOMSJÖ Ceramic Sink (with its matching drain and water-trap kit)
Countertop: Solid wood butcher block (ideally $1\ 1/2\text{ inches}$ or $38\text{ mm}$ thick)
Measuring Tape & Pencil: To measure twice and cut once!
Jigsaw or Circular Saw: With a clean-cutting wood blade to make straight countertop cuts.
Power Drill & Wood Screws: For building safety supports inside the cabinet.

$2\times4$ or $1\times3$ Wood Studs: To construct support ledgers inside the cabinet frame.
Silicone Caulk (Clear or White): To seal the gap between the ceramic sink and the wood countertop, keeping water from sneaking into your cabinets.
Sandpaper: To smooth down any rough cut edges on your wood.
Quick Hacker Note: Protect Your Wood!
Because the DOMSJÖ sink rests on top of your wooden countertop, water will inevitably splash around the edges. Before you permanently drop the sink into place, apply 2 to 3 coats of water-resistant sealant (like mineral oil, polyurethane, or varnish) to the raw, cut edges of your butcher block. This prevents the wood from absorbing water, swelling, or turning dark over time!
Tips and Shortcuts for a Smooth Install
The Tape Trick: When drawing your cut lines on the countertop, lay down blue painter’s tape first. Draw your lines on top of the tape, and cut right through it. This prevents the saw from splintering the beautiful top surface of your wood!
Support from Below: Do not rely on the countertop alone to hold the sink’s weight. Screw $2\times4$ wood cleats along the inside left and right walls of your cabinet. Let the bottom of the sink rest directly on these wooden ledgers.
Use a Helper: Ceramic sinks are incredibly heavy and fragile. Always have a friend or family member help you lift and lower the sink into the cabinet so you don’t drop it or pinch your fingers.
FAQ: Countertop thickness for DOMSJÖ sink
What is the absolute minimum countertop thickness for this sink?
The recommended minimum thickness is 38 mm (about 1 1/2 inches). While you can use thinner counters, you will have to install extra wood framing inside the cabinet to safely bear the sink’s weight.
Can I install a DOMSJÖ sink on a laminate countertop?
Yes, but you must seal the cut edges extremely well with silicone caulk. Laminate countertops are made of particleboard underneath, which will swell up and be ruined if any water leaks past the sink flange.
Do I need to cut a curved shape into the countertop?
No! That is the best part of the DOMSJÖ sink. Because the side lips sit on top of the counter, you only need to make straight, front-to-back cuts in your countertop. It makes the cutting process much easier than standard undermount sinks!